An Article on Piano technique
A while ago I have written an article about piano technique for the Reddit group on piano learning. Here are a few thoughts on controversy of piano playing, and a few important tips with useful links to different sources.
Also check out my comprehensive course about basics of piano technique and musicality
Introduction: What makes piano technique tricky
Each professional pianist uses their hands in a very different manner while playing, and if one would compare a few professionally established piano players, it might seem that there is no such thing as a "correct" and "the only" hand position. In a way, it is true: not only does the way of playing vary from pianist to pianist, but also a good pianist changes his touch and the shape of the hand if a particular piece of music requires it. For example, by maintaining a well-rounded shape of the hand for some Mozart passages, while using extremely flattened fingers for some spots in Debussy or Chopin is quite typical for many professional players.
But the problem has deeper roots: There are so many technical approaches not just (and not as much!) because each player is unique, but rather because piano pedagogy is very diverse and scattered. Each piano teacher mostly uses a set of methods, which he inherited from his teachers, or has developed himself. And of course - each player has a unique hand physiology, so some things that might be quite comfortable for one person, would be awkward for another.
Over the past decade, things have considerably changed, of course: thanks to the internet and content creators, both piano students and piano teachers easily gain access to an incredible amount of different approaches and methods. However, the choice is so wide that without significant experience it’s almost impossible to figure out on your own what is really good, and what is best for you.
When it comes to physiology, efficiency, and safety of piano playing, everything gets even worse. It's common knowledge that if a person has bad playing habits, they will not be able to reach a high performing level. But not so many know that even if a person performs something brilliantly right now, it doesn't mean that they have a safe technique and that they will not run into severe medical issues over a longer period of time. Thanks to modern studies about the physiology of piano playing (for example the Taubman Approach, or a praxis of Laurent Boullet, among others) it's clear that we should classify ways of playing not only by immediate result, but also by their safety over a long term.
A professional music education includes dozens of disciplines: music theories, music history, music analysis, sight-reading training, chamber music classes, just to name a few. However, in many conservatories there are still no courses that would be dedicated to the physiology of playing an instrument. Usually, the only way to learn anything particular about that is from your piano instructor directly. But not every piano teacher has a clear understanding about the pros and cons of physiologically different ways of playing, nor about the safety of piano playing. Unfortunately, in most cases, even those musicians that have got good piano skills just don't remember their first months of study (because most of them were too young at that point), and how exactly their first piano teacher taught them. This is key because the starting of one's piano education is where the foundations for further progress are built.
Furthermore, many even internationally recognized piano teachers are not aware of modern studies about the physiology and safety of piano playing, and still encourage their students to use methods that might be effective over a short term, but very harmful over a long term. Another frequent, but even uglier situation is when a piano teacher is not curious enough to educate themselves prior to giving lessons, and prefers not to bother with technical issues of a student at all, giving mostly advice just about musical aspects. Later students that run into hand issues, or can't overcome some technical limitations due to inefficient technique, are just left behind as “simply not talented enough”, and have to deal with their problems on their own.
Considering all this, this article has no ambition to introduce you to "one and only" way of playing, but has a goal of introducing you to what I personally consider to be a safe and efficient way of piano playing, and make you aware of the most common issues that slow one's progress and create problems. We will often be speaking about tension, release, and freedom. Speaking about freedom, I don't mean a loose, passive state. Having no better term, I refer to a tension-free, flexible state in which you are able to move a bodily part freely around, focusing it when necessary (for example focusing a finger in order to hit the key), and releasing it quickly when a current task is done, in order to regroup this part for the next task. Piano playing is a dynamic process, in which a proper coordination between passive and active states is absolutely necessary.
The Basics
It is often said that the key to efficient piano technique is playing without tension. However, this terminology often creates confusion. Piano playing is a process involving our fingers, hands, arms, shoulders, torso and so on, and an imbalance in proportion when it comes to any of them can create inefficiency. The goal of technical development at the piano is to try to play as efficiently as possible, so that we can play long and expend enough energy to play even the loudest fortissimo without getting unduly fatigued. So, speaking about piano playing in general, it might be confusing to say that we are able to play without any tension, because we still need to focus a certain part or even the whole system in order to produce the sound. But a safe-in-the-long-run piano technique requires an understanding about how much of tension we need, for how long do we remain tense (spoiler: usually for just a fraction of a second), and which body part should focus (get tense for a short duration), and which should remain flexible (remain loose).
Bench Height and Body Posture
Of course before speaking about hand position, we should adjust the height of the bench.
The best height of the bench is that which allows us to hold the forearm parallel to the floor. This means that your elbows should be approximately at the level with the keyboard, or slightly higher (up to 1.5 inch higher is quite okay still).
If you have a non-adjustable bench, improvise: if your current one is too high, you may try to find a lower bench, or even to saw off the legs of your current one in order to make it lower. If the bench is too low - cover it with pillows/blankets/a pack of journals etc. However, investing in an easily adjustable hydraulic piano bench is a very good idea, especially if there is more than one piano player that is going to use the same instrument. There are also relatively cheap adjustable piano stools available which have gradations at about half an inch.
Don't forget to straighten your back, and sit as straight as possible, but still comfortably. The height of your elbows also depends on whether you sit straight or crouch, and whether your shoulders are tense or not! As mentioned before, try to keep your arm relatively parallel to the keys and elbow either at the same level or slightly higher.
The best distance from the keyboard is that which allows your elbows to be slightly in front of your center line (the line passing through your head and torso when you are sitting straight). It's better to sit on the front of the bench, but not at the very edge: seek for both stability but also mobility of your sitting position.
Make sure your feet are able to touch the floor fully - it's an important habit that will help you with resolving many difficulties connected with coordination. If sitting comfortably on the bench you can't reach the floor with your heels, you may install a wooden plate or thick carpet in front of the pedals, if the height of the piano pedals allows it.
Here is a video demonstration: https://youtu.be/bg551jA7FqQ
There are also special piano pedal adjustments for children that allow to find stability in the feet, as well as to use pedals even to those ones who can't reach them at all.
More on the topic: https://youtu.be/H_v5VdEDrHs
Functions of different parts of the body
The key idea of piano playing is that a pianist should use the whole body as a whole, using its integrity, where each part is connected to the other, and each part has its own function. If one part doesn't manage to execute their task, we usually try to intuitively compensate for it by causing tension in another part. This is how people get tense and run into health issues in most cases. That's why it's not really helpful just to tell a person to relax; we need to instead understand which part doesn't work properly and fix the reason. In a majority of cases it's a lack of support in the knuckle bridge (which we will talk about later) that is usually being compensated with tension in the wrist, but there are many other cases and we will try to point out the most frequent ones.
Let's briefly touch upon the most important functions of various parts of our body concerning piano playing. Starting from the bottom,
Both of your feet and your seat are your fulcrum and ensure your stability. Therefore a proper sitting posture and full contact of your legs with the floor (or at least the heel, for example while you are using the pedal) are important.
The torso lets you move around. This may be used in order to reach distant keys on the keyboard by shifting your weight distribution appropriately. In certain cases, the weight of the torso might also be used in order to provide a very strong sound, for example while playing extremely loud chords. For the best efficiency while using the weight of the torso, it is usually advised to slightly lean forward with your torso, so the weight center of your torso would be not closer to your spine, but rather around your solar plexus. Try to lean slightly forward with all your torso holding it straight, don't crouch! For a more detailed explanation of how the weight of the torso is used for loud playing, check out here
The shoulders and the neck should be as relaxed as possible, because it ensures the freedom of using arms and hands efficiently. Locking up the shoulders or neck will restrict arm movements, which will then also restrict the mobility of the hand. For forte/fortissimo playing, the head works as a counterweight while playing loud chords using the weight of the torso, and this will prove impossible if the neck is tense. Tension in the shoulders and neck has a lot of medical consequences as well, therefore must be avoided. Here is a simple exercise to quickly release your shoulders and elbows: https://youtu.be/6wUofG96yvk?t=10
You will usually use the weight of the forearm and the arm in order to provide the sound, and not just the finger itself, so their freedom is essential. If your arms are tense, it means that you "hold" their weight using your muscles. When that happens, you will have to use the muscles of the forearm in order to move fingers and to produce the sound. This is one of the most frequent reasons for health problems caused by overuse of muscles. That’s why it’s so important to learn how to apply the weight of the arm, and being able to work with the bottom of the key. It helps to get a feeling that we “rest” on the key, or slightly “lean” towards it, thus reducing a necessity to constantly hold the weight of the hand.
Elbows work in conjunction with the wrists, providing a necessary amount of flexibility to the whole arm and hand. They often move in a circle with the centre of rotation in the shoulder joint, direction towards and off the torso. Although the actual position of the elbows changes all the time depending on what you are playing, their default position should be slightly aside from the torso, and not completely adjoining it (except for extreme playing positions such as when your right hand should play low in the bass or vice versa). In their default position, they are approximately at a distance from your torso at which you can stick a fist of the other hand between the elbow and the torso.
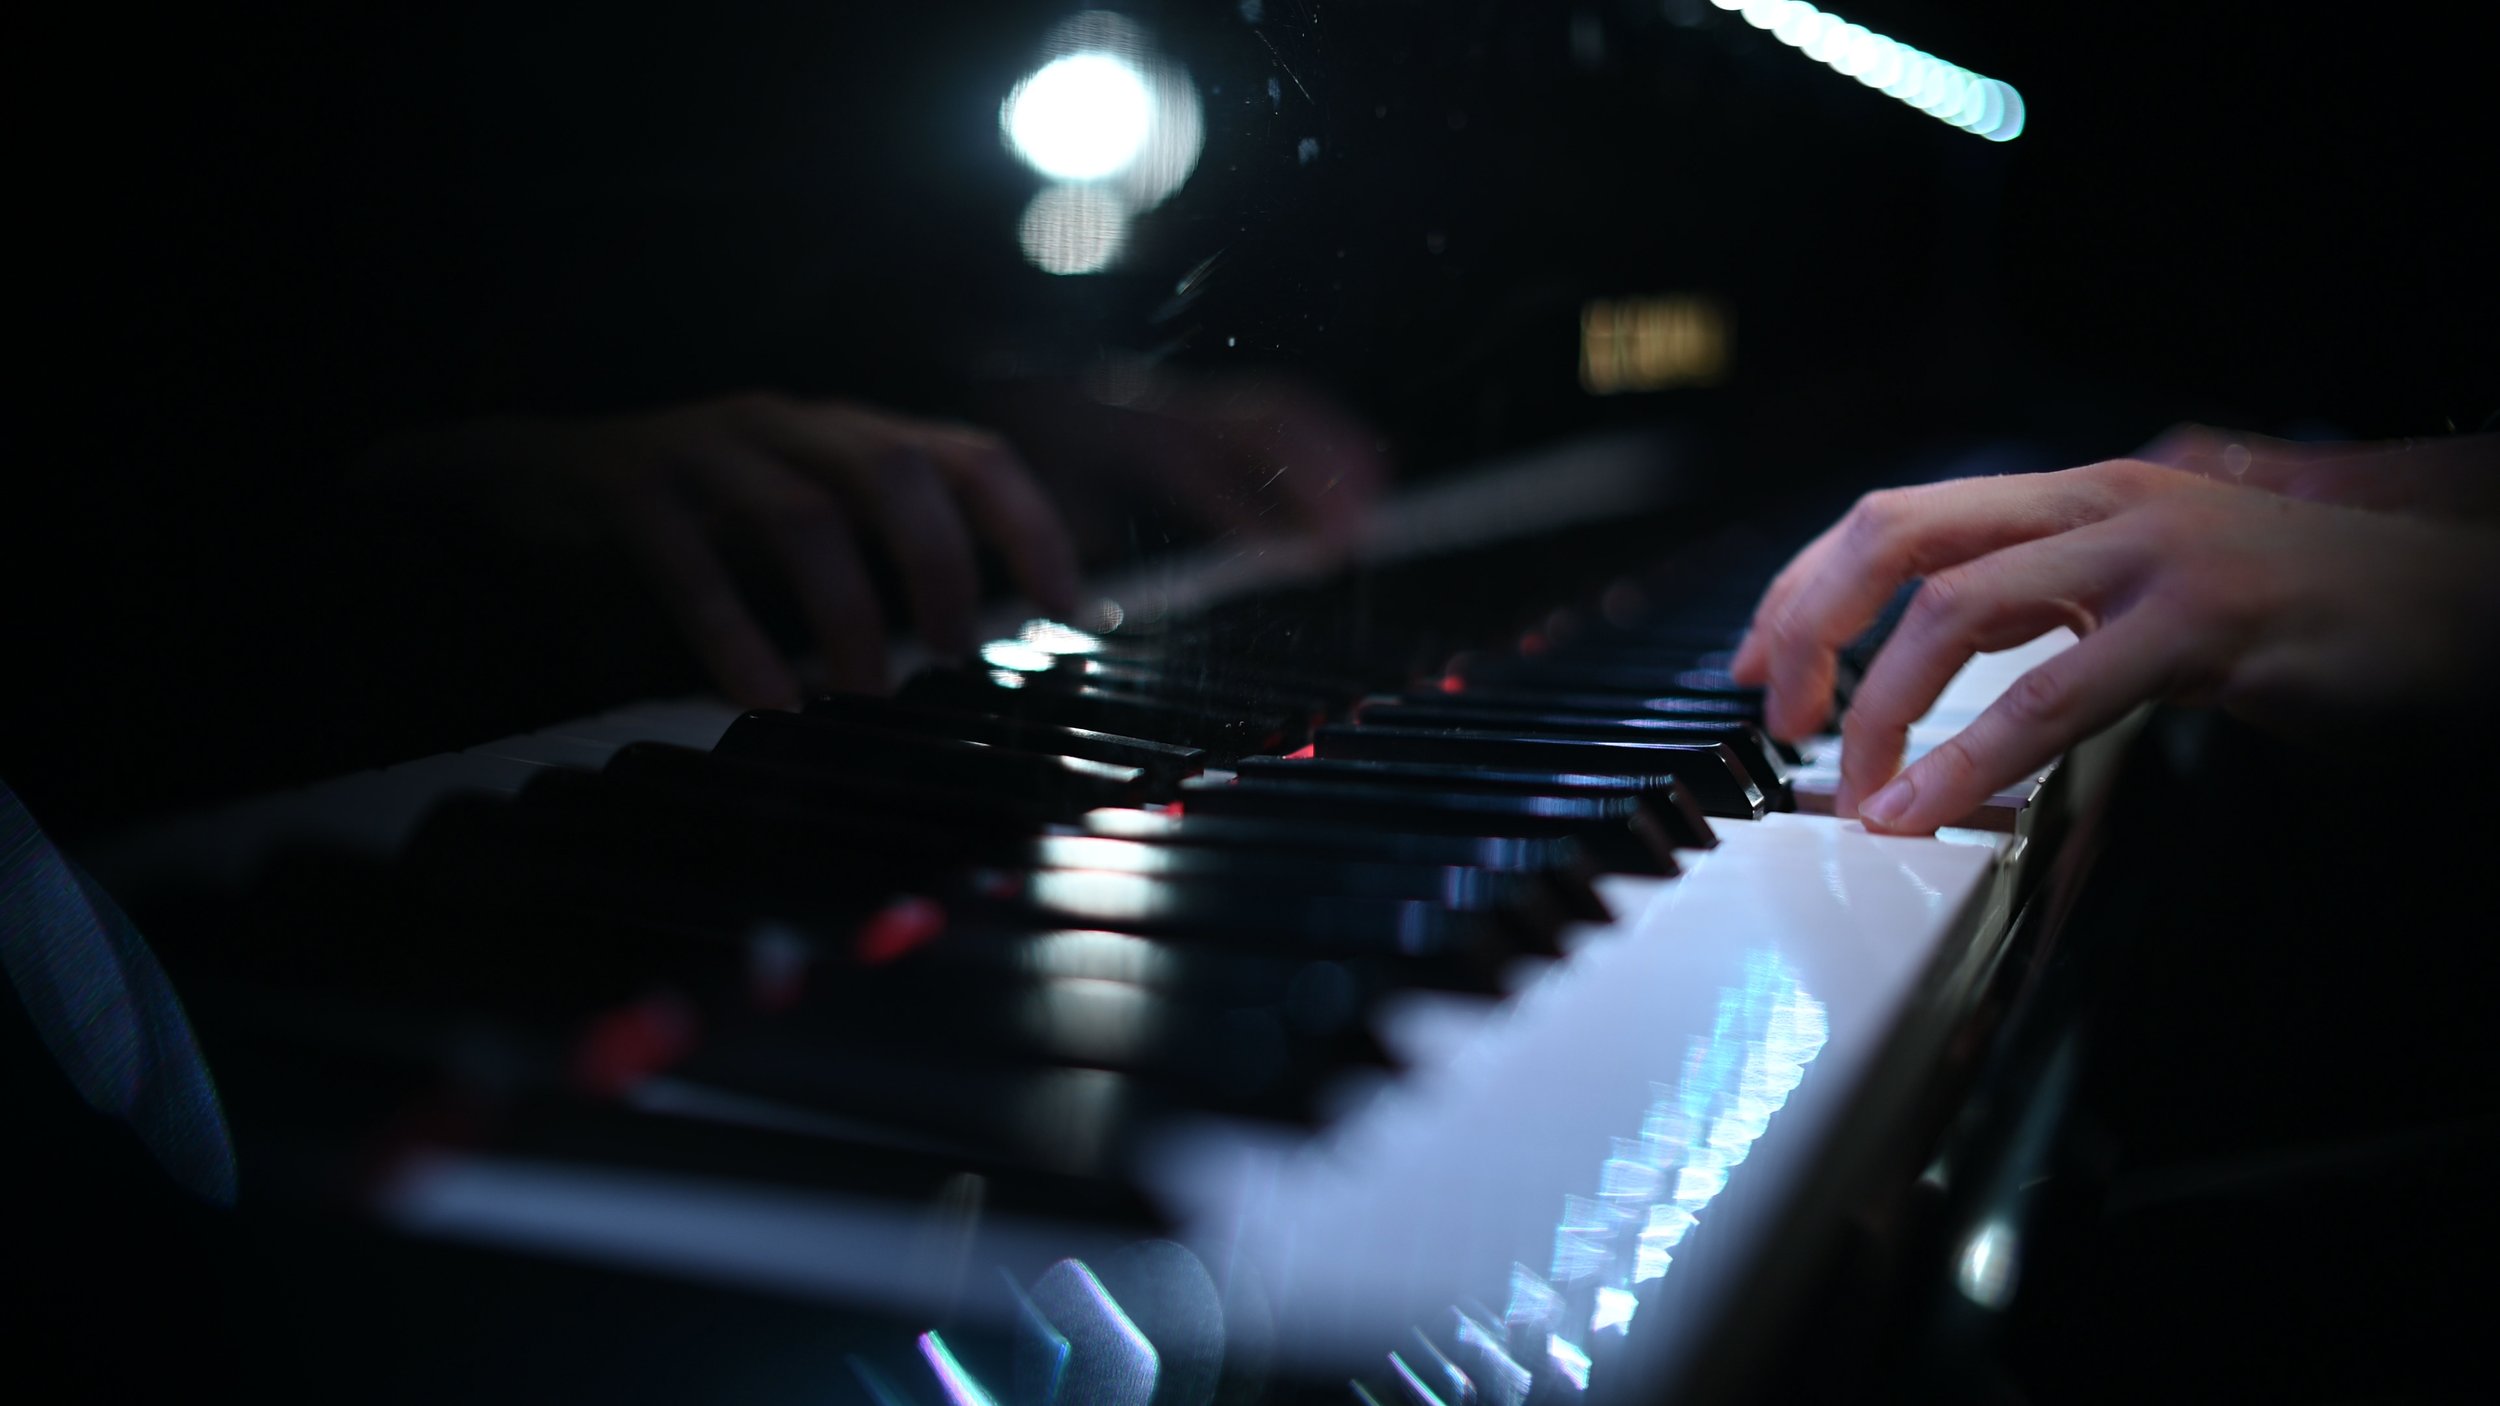
Now, we come to hand position. There are many different approaches which people have come up with to explain hand position. Teachers often tell students to curl their fingers, but it doesn't seem to be specific enough. One of the best explanations I have personally encountered belongs to Taubman Method specialists, where they propose to use the same shape of the hand that you have when your hand is relaxed. Let your hand fall naturally to the side, and look at the shape of your forearm. Then raise the forearm and place the hand on top of the keys, trying to maintain this natural shape. Before proceeding further, please ensure that your wrist is approximately on the same level with the keys. If it's too high or too low, readjust your bench and repeat the procedure. You can see this illustrated on this website: https://wellbalancedpianist.com/taubman-approach/
Articulation
Expressive and advanced piano playing requires a lot of different ways of hitting the key. This demonstration represents a few of the most common ones: One Scale, Thirteen Ways to Play it: Articulation Types Road Map: https://www.youtube.com/watch?v=CfsyFKGXELw.
Louder playing needs a good amount of physical force. But even in fortissimo playing we can optimize (or rather: coordinate) the movements in order to avoid exhaustion.
One of the most fundamental concepts for efficient piano playing, especially that involving loud passages, is the use of gravity in place of muscular force. As mentioned earlier, if you stiffen the arm, then more of the work involving lifting and dropping of the fingers will be performed using the forearm muscles. These forearm muscles are relatively weak, and using them for prolonged periods of time or trying to achieve excessive force using those muscles can set you up for injury down the road. That said, these forearm muscles which control the fingers will naturally be used to some extent; the key is to use gravity to your advantage in order to minimize the number of spots in which you will be required to use this kind of muscular force.
As a side note, whenever we use the word "weight", we are referring to using gravity -- weight is the result of gravity acting upon a part of your body.
Utilizing The Hand Arch
For utilizing weight properly, stability in the knuckle bridge and flexibility, a neutral position of the wrist are absolutely essential. This typically takes the form of an arch shape, which is behind the oft-quoted maxim to "curve your fingers". However, it doesn't always have to take an idealized arch shape -- the key takeaway is to have a supported knuckle bridge. The angle of the hand, how flat or curved it is will depend on the sound that you want to produce and the technical demands of a passage which may require you to play further in or out of a keyboard. There are certain situations which are exceptions to this, such as when a player wishes to play an extremely soft passage in a Debussy piece, where they may play with flat fingers. However, for the sake of our discussion, let us concentrate on this foundational structure, that of the knuckle bridge, which first needs to be developed.
This is how Heinrich Neuhaus describes this, in his book "The Art of Piano Playing": “I sometimes tried […] to help a pupil to understand what freedom is and to feel it. I compared the arm from shoulder to fingertip with a hanging bridge, one end of which is fixed to the shoulder joint and the other to the fingers on the keyboard.The bridge is flexible and resilient, whereas its supports are strong and firm (as soon as the hand and fingers are raised above the keyboard the image of the bridge is no longer accurate and it is better to think of a crane.)”
For a more detailed exposition of the Neuhaus bridge analogy, check out this link: https://aw4piano.info/en/info2/03 This video is also a good introduction on how to have a supported knuckle bridge: https://www.youtube.com/watch?v=sQsYPcYVqvM
After the key is hit we should release tension immediately, resting on the key with a free hand. Note that there is still a sensation of support in the finger, with the stability of the last finger joint and the knuckle bridge. However, the rest of the hand/arm is free. Try this exercise: hit the key strongly and immediately make you hand loose with the finger staying attached to the key. While gently leaning on that key bounce, rotate the wrist and check if other fingers are tense or not.
When proceeding from one key to another, make a habit to firmly transfer the weight of the hand immediately to the finger that is currently in use, releasing the rest. Let us draw an analogy to walking: When we walk, we stand firmly on one leg but without “pressing” on it. The weight of your body transfers fluidly from one leg to the other. I’d say this habit alone is like 50% of piano skills. At least a half of technical difficulties that I see among all my diverse students are connected with the lack of coordination between movements, often connected with an inability to release the hand/fingers when necessary and to transfer the weight between fingers properly.
Slight up-and-down wrist movements (which you may also come across being referred to as "in and out" movements according to Taubman) allow us to better use coordination between arm parts in order to reinforce weaker fingers, such as for example the 4th finger on a black key. Here is an example of how this works in practice with a five-finger pattern: https://youtu.be/76gVBrwNx08?t=402
If you feel fatigue in the upper part of the forearm, it’s most probably because you lift the fingers too much, and/or hold the tension in fingers that aren't currently in use. In general, we should avoid lifting the fingers while actually playing the piano. Avoiding lifting the fingers, but properly releasing them instead, helps us to reduce tension tremendously, raise tempo in passages, and avoid most common overuse problems. Many teachers instruct students to lift the fingers high because this is the easiest way to make sure that sounds in a musical line don’t overlap. But the cost of this is too high: it results in the loss of tempo, a clumsy robotic sound, bad legato and unnecessary accents, and worse - fatigue and an extremely high chance of hand issues if a similar technique is continued by the student in the future. There is a reason for this: muscles that are responsible for hitting the key and lifting fingers (pulling fingers up) must never work simultaneously, otherwise this causes co-contraction (where the opposing sets of muscles are basically competing with each other) that leads to quick exhaustion. Proper immediate release of the fingers in order to stop the sound of the key needs more concentration and care at first, but saves an enormous amount of energy in the long term.
All in all, the stability of the knuckle bridge allows us to use the wrist for things it can do best: flexible connection between positions, slight up-and-down wrist movements which allow us to better coordinate the various parts of the arm mechanism in order to reinforce the weaker fingers.